I’ve seen many online descriptions and videos showing how to make the slots in the neck that will hold the sides of a guitar for the spanish heel method of building guitars. I build my classical guitars with a separated neck and body that are joined later with a spline. But I wish to build my flamenco guitars in the traditional spanish method of using a Spanish heel and building on a solera workboard.
All of the videos I’ve seen show using a tablesaw for this operation, which is a power tool I just do not have. Tablesaws consume a huge amount of space, and so far I’ve found them useful in cabinetry, but not so much in guitar building. Except of course for this one critical operation.
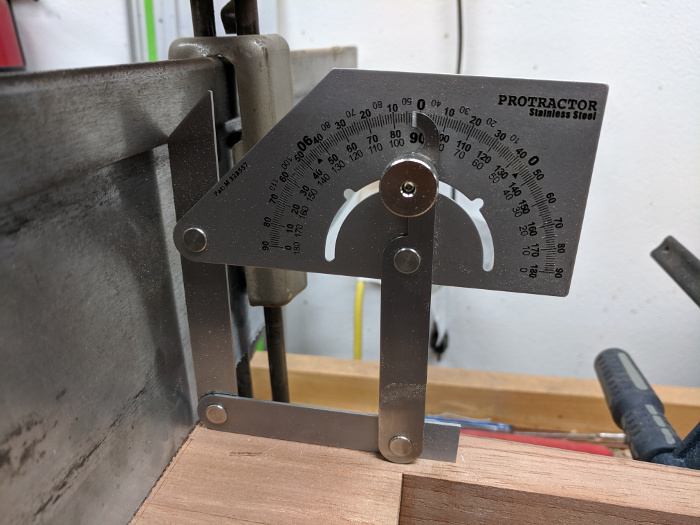
The goal is to create a clean cut of a specified kerf width into the neck at an angle that matches the angle of the curved sides approaching the guitar neck. This is typically a 2 to 3 degree angle. The kerf needs to be the same width as the thickness of the sides, so that the sides snugly fit into the slot. I’ll show how I created the following slots to fit the sides snugly during assembly without needing a tablesaw.
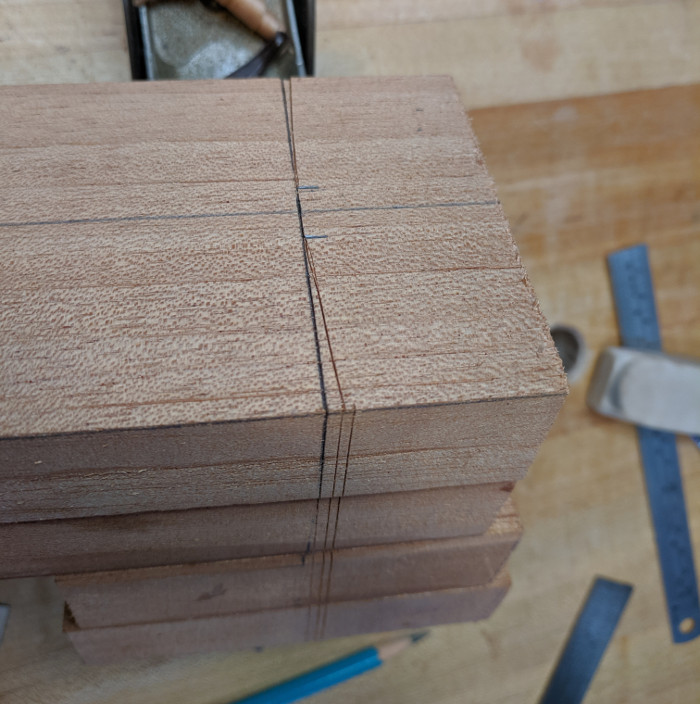
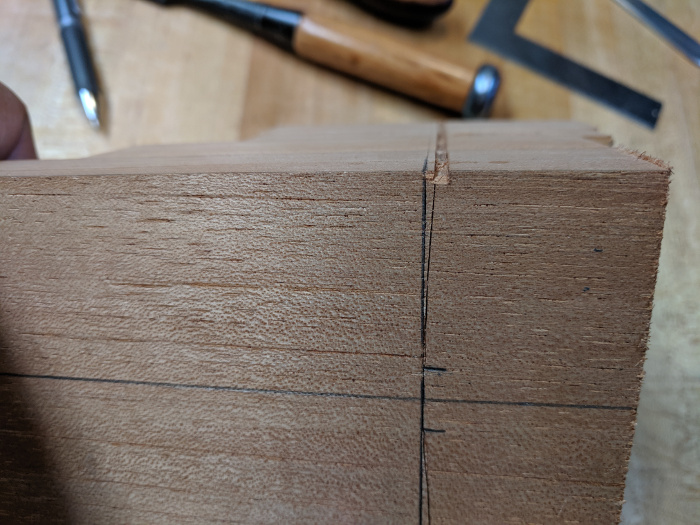
First step is layout. Mark a line across the neck at the 12th fret location. Then draw lines 6mm away from the center line to indicate the wood that will not be touched by these kerfs. Connect a 3 degree sloped line that meets this 12th fret location at the nearest 6mm offset line. All lines knifed into the soft Spanish Cedar neck and across the heel at 90 degrees from the top of the neck.
Another line is added 1mm beyond the desired line (into the guitar) along the sides. Some wood is excavated here with a chisel in the knifed lines to allow a kerf to guide the saw at the start. This helps guide the initial cut that that I will make on an old miter saw.
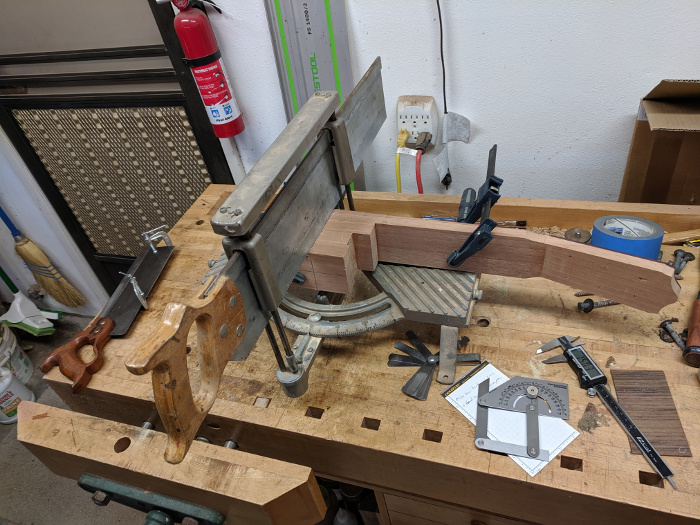
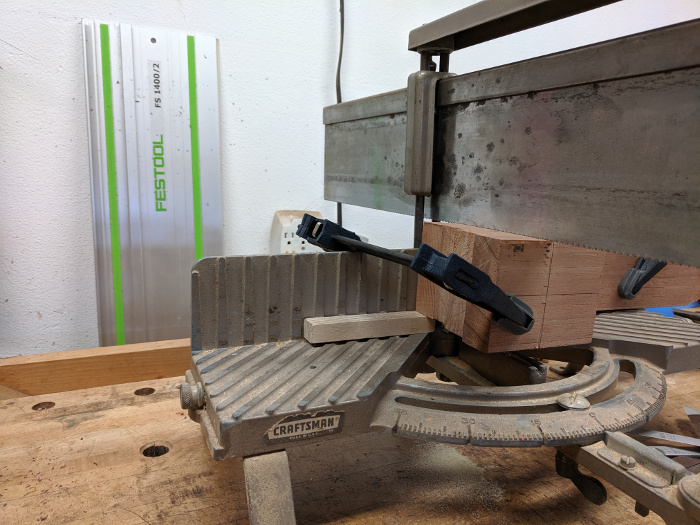
Now to the ancient miter saw. Anyone who has ever installed base board molding or crown molding will be familiar with the modern equivalent of a chop saw to make the critical molding cuts. Again, a chop saw is a specialized tool I’ve never really wanted. I found an ancient miter saw at an old tool swap meet and I rehabbed it for installing molding. It will do nicely for this next operation too.
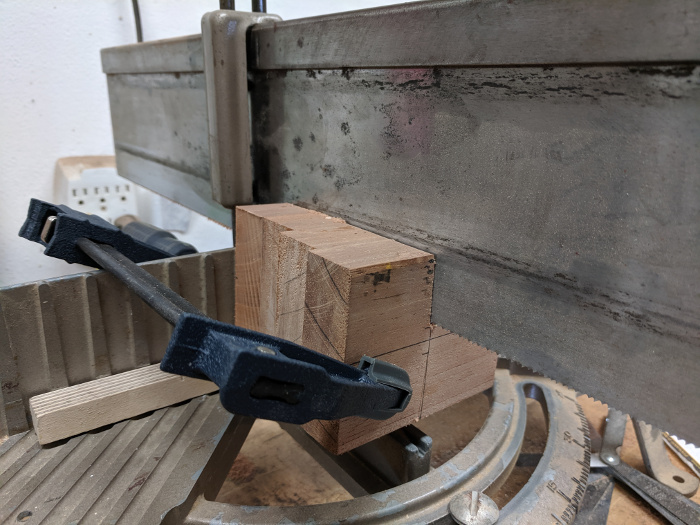
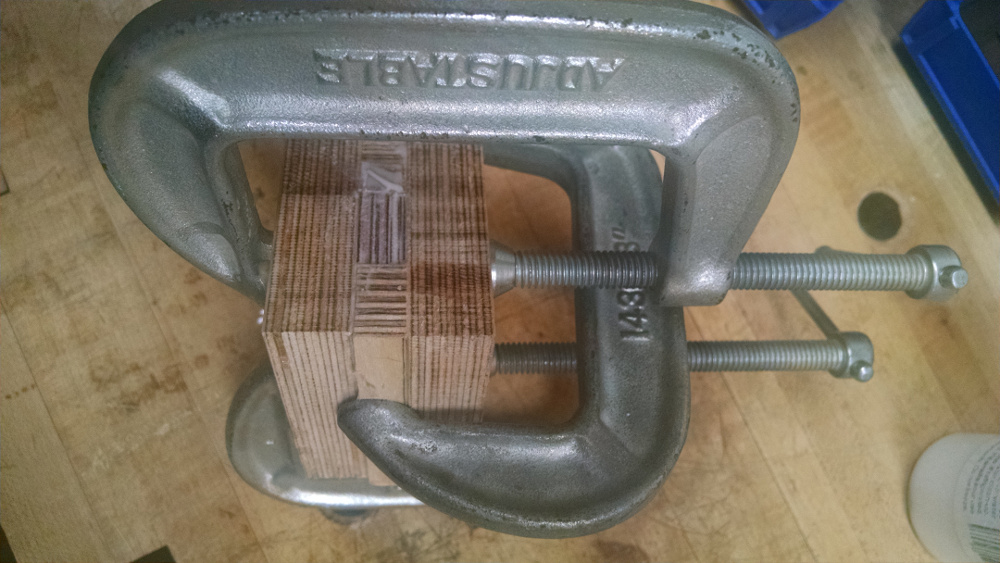
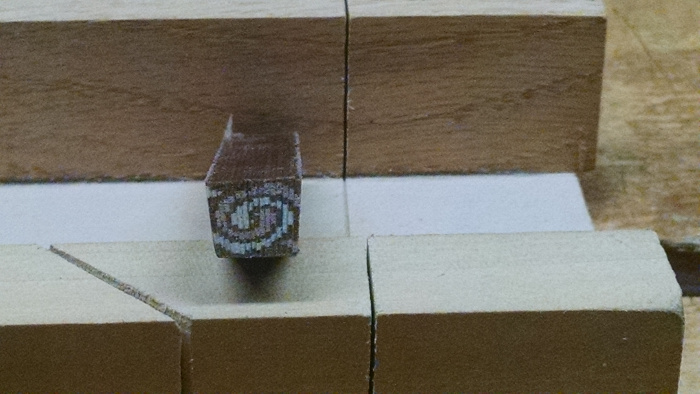
The neck face is securely clamped to the back fence of the miter saw. The heel end that will be housed inside the guitar body is elevated off the bottom fence by a 14mm block of wood. This makes the saw cut at the 3 degree angle desired so that the sides will seamlessly enter the neck.
The following view shows the wood block used to elevate the heel end.
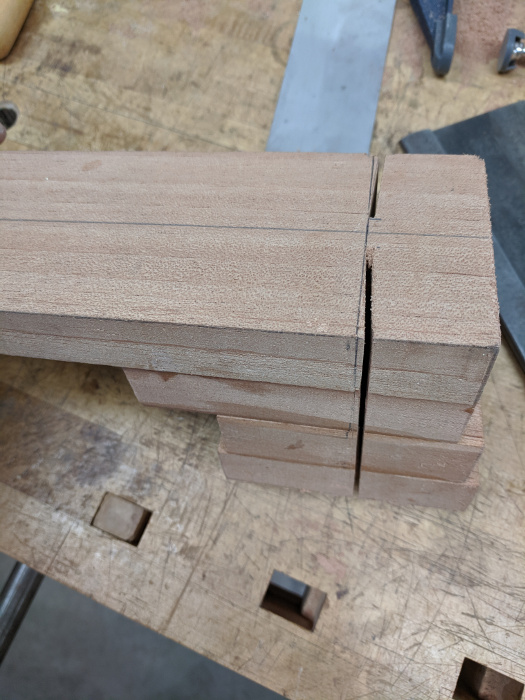
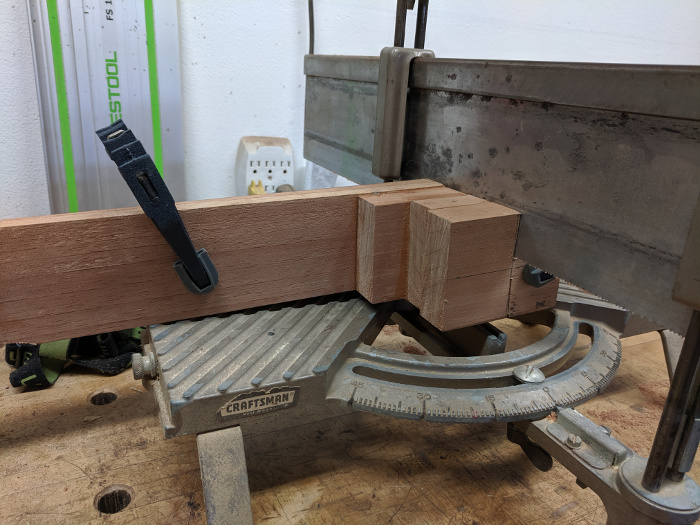
Saw down to the lines in the front and back of the neck surface that are 6mm away from the neck centerline.
Repeat on other side, again with the heel elevated off the table to get the desired angle.
This saw made a kerf that is 1.2mm wide. That is thinner than desired. The sides will be thicknessed to 2mm thick, and then can be sanded down slightly if needed. So the goal is somewhere around a 1.9mm slot width. We don’t want to touch the surface that is towards the headstock end of the kerf, since that will be a show face once the neck is carved. Instead we will widen the slot in the other direction, towards the inside of the guitar body. Here’s an easy way to widen a slot in a controlled manner.
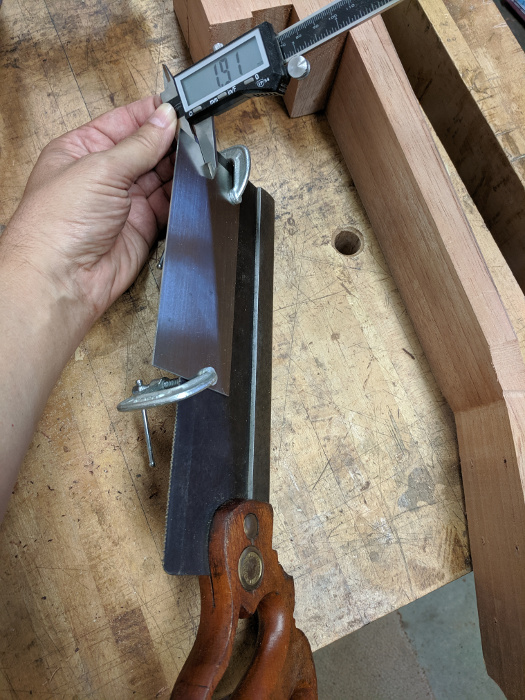
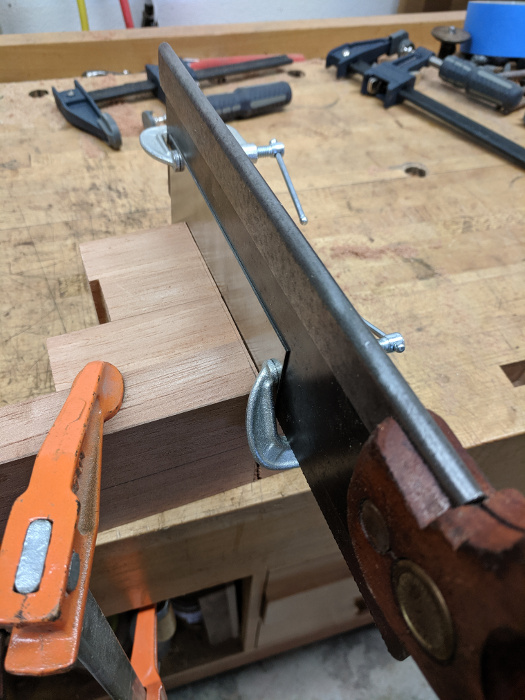
I’ve clamped a card scraper onto a finely set dovetail saw. The combined thickness of the dovetail saw kerf plus the scraper is our desired 1.9mm width. Clamp the scraper so that it is extended far beyond the teeth of the saw as shown above for the initial cut. I clamp the scraper to the saw so that the saw can not rub against the scraper during this use which would mar the scraper and dull the teeth of the dovetail saw.
Insert the scraper into the slot from the miter saw, and make sure that the card scraper is on the headstock side of the kerf. Hold the card scraper tight against the reference face and cut down in small nibbling cuts until the card scraper hits the bottom of the narrow kerf and stops progress. Adjust the clamps so that the card scraper does not extend so far from the teeth and repeat. The final setting has the card scraper just even with the teeth of the dovetail saw, so that the slot width is consistent all the way into the neck.
I hope that this helps another hand tool builder like myself complete this step accurately.

2 thoughts on “Side slots in Spanish Heel”
I like it! Clever way to get the angle. I have come up with a completely different way of doing the side slots that I like very much also. But I’m too lazy to do the nice write-up as you have done here! 🙂 I will tell you about it or show it in a Facebook album sometime.
Thanks Dave, I’m sure there are other ways to do this. I would like to see the way you do this too.