My last blog was about designing the mosaic tiles for a rosette, and gluing up the sandwich layers of veneer used to make each column of a rosette tile. This one is describing assembling these into a “log” which in this case is a 16×19 array of colored wood pixels to make the pattern of the tile.
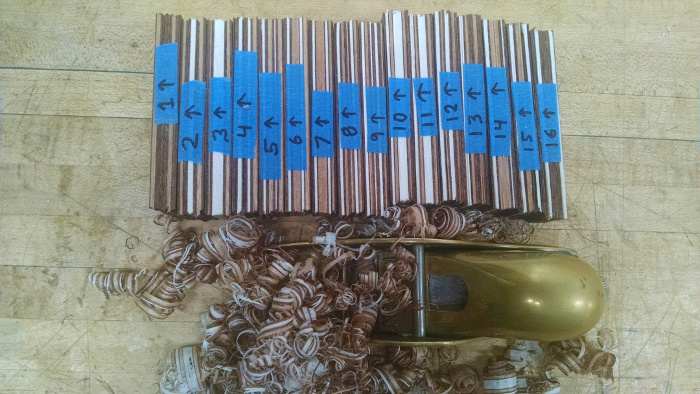
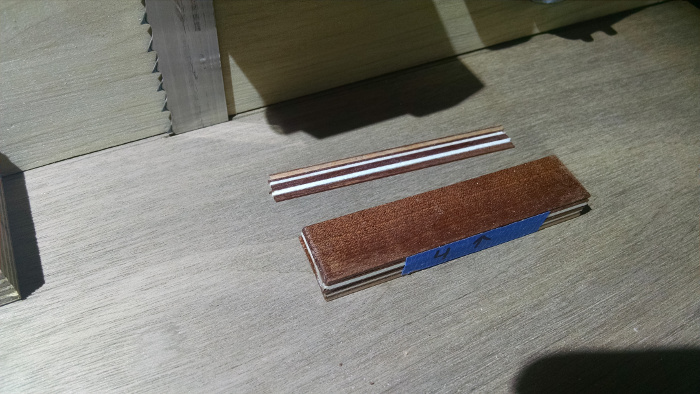
After all 16 columns are completely glued up, they are planed square to the faces using a small block plane. The goal is to get past the uneven edges from the glue up so that each individual row of wood is fully visible along the length. Mark one side with the column number and the direction of up on the pattern. The slices of columns will be cut off the opposite face, which needs to be perfectly square to both faces. I just love the look of all the curly cutoffs when squaring these edges.
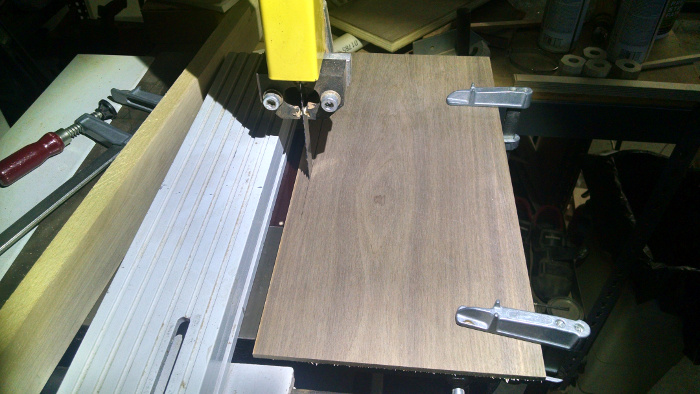
I put a brand new thin resaw blade on my bandsaw, and I’ve set it up to deal with very thin pieces of wood. The worst thing would be to make nice thin slices from these logs and have them fall down into the bandsaw to get eaten. A piece of ¼” plywood is used as a table, sawing through this piece about ½” from the edge and halfway through. Clamp this in place on the table.
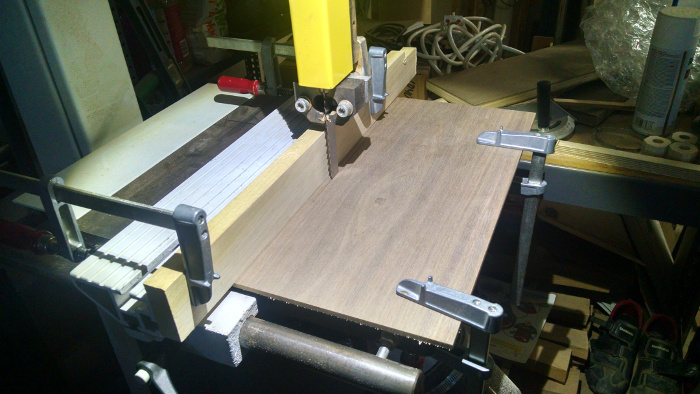
Then clamp a board to the fence so that the fence can ride over this additional table height. Adjust the distance between the wooden fence and the blade so that slices of 0.030” or so can be cut off.
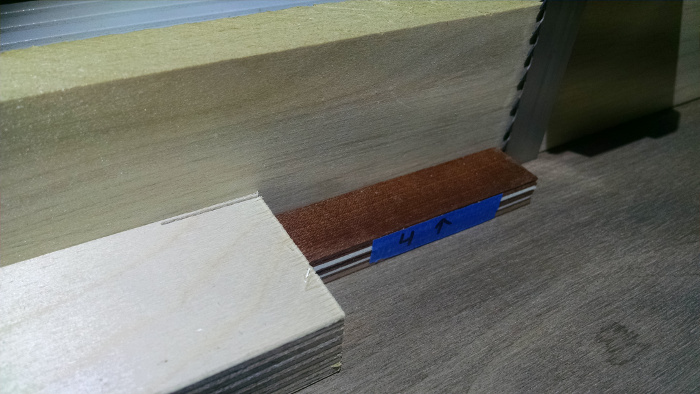
Then slice off the columns to the goal of just over 0.030″ thick. The final thickness will be thinner than that due to steps described below.
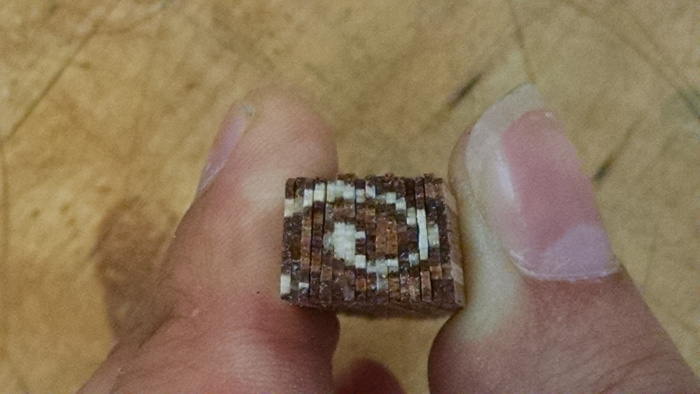
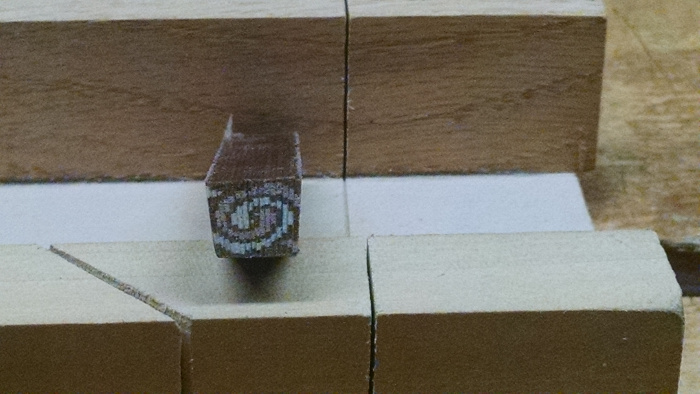
Assemble one slice from each column, and your tile pattern starts to be visible on the end of the stack. Dang my fingers look huge compared to these tiny slices.
Now comes the tricky part. The goal is to have a pattern that seamlessly bends around a circle with a 2” inner diameter. If this is a perfectly rectangular tile, then a significant amount of wood needs to be removed from each edge so that it will fit as a wedge to connect to the next tile as they progress around a circle. There are two ways of doing this:
1) You could make the tiles rectangular and cut off the wedges on the end veneers. This works on very simple patterns with a lot of dark along the edges and maybe only a single pattern pixel on the edge other than the dark. For this pattern with the dueling swirls in tan and white, that would look rather odd. So instead I’m using:
2) Make each column of the pattern a slight wedge, so that the tile bends as it is assembled. You can see in the above picture that straight off the saw the pattern already bends slightly into a tapered tile due to a slight angle on the bandsaw adding up. I’ll continue this angle as I proceed.
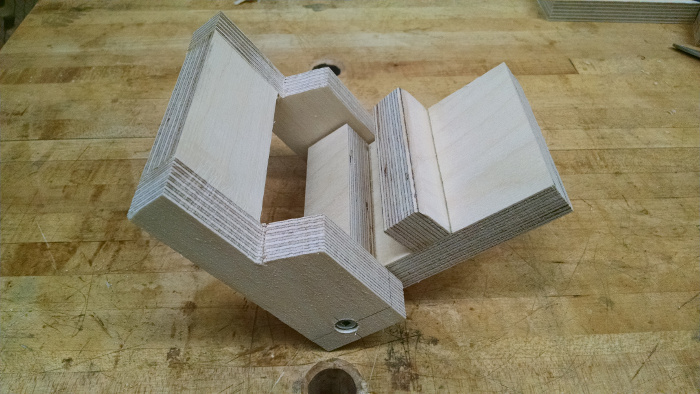
So how do you glue up a wedge of wedges? I created another jig to allow two radial faces to define the outer angles of the final tile. The jig hinges on two screws that are placed at the equivalent of the center point of the soundhole. Each wing has a face that is perfectly radial pointing directly to the pivot screw. There is a small angled fence protruding from one face to define the inner edge of the rosette circle 2” away from this pivot point. This is angled down so that the assembled tile will be the same distance from the center of the circle on both sides.
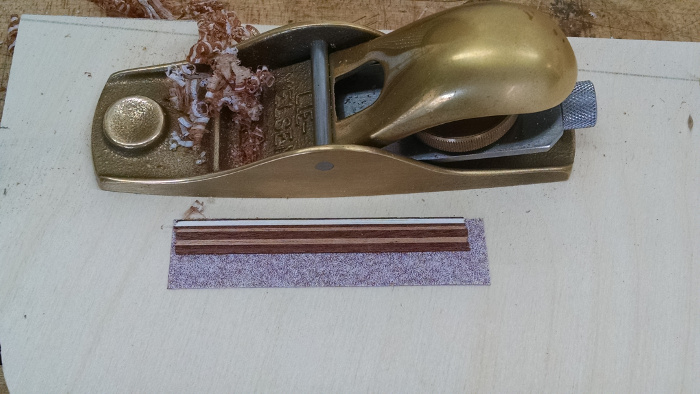
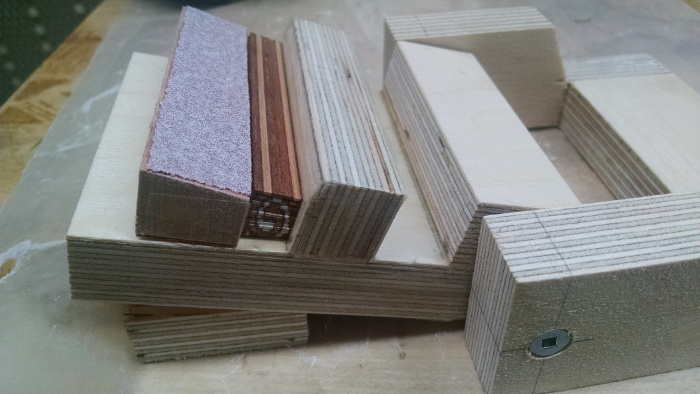
Measuring off of this jig, I was able to determine that the outer edge of each tile needs to be 75 thousandths of an inch larger than the inner edge of each tile. Dividing that by 16 columns means that each column of veneers needs to taper by about 0.005” wider on the outer edge. Each slice has a cleanly planed side and a bandsawn side. The bandsawn side is placed up on the following work board so that my small block plane can take it down to desired dimensions (24 thousandths on inner edge and 29 thousandths on the outer edge). The piece held to a work board by friction with some 150 grit sandpaper stuck down with double-stick tape.
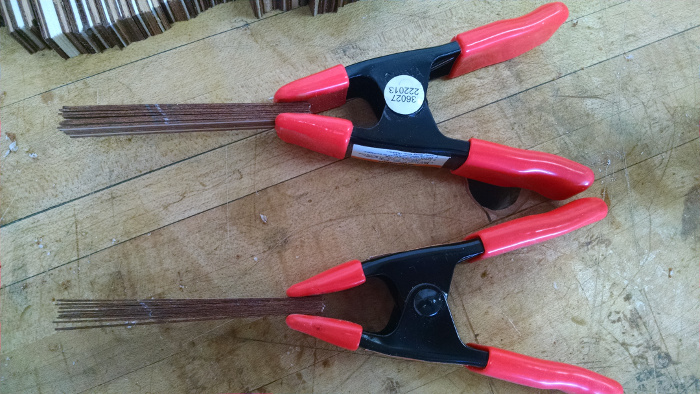
I used a couple of spring clamps to keep things sorted and in order. Take a slice out of one clamp, thickness it, and put it in the other clamp. I only dropped them all once, causing me about 15 minutes of intense eye-strain to get them all back into the correct order. After that accident I added a white pencil line to the edge to mark a diagonal so I could sort them out if I dropped them all again.
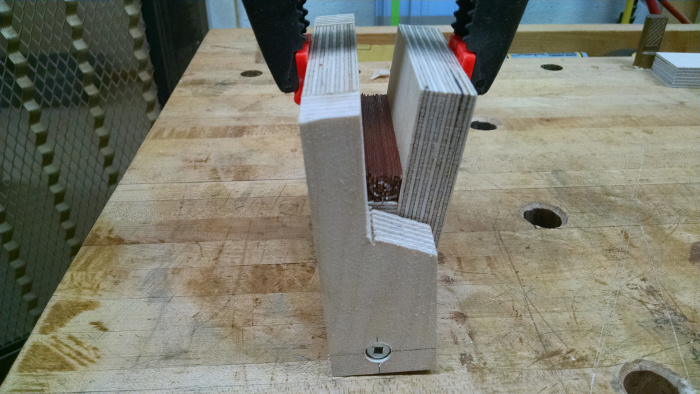
Assemble the wedge dry in the clamping jig and everything looks great!
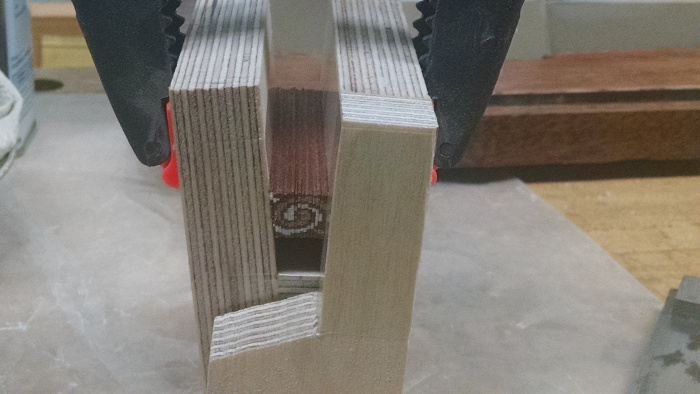
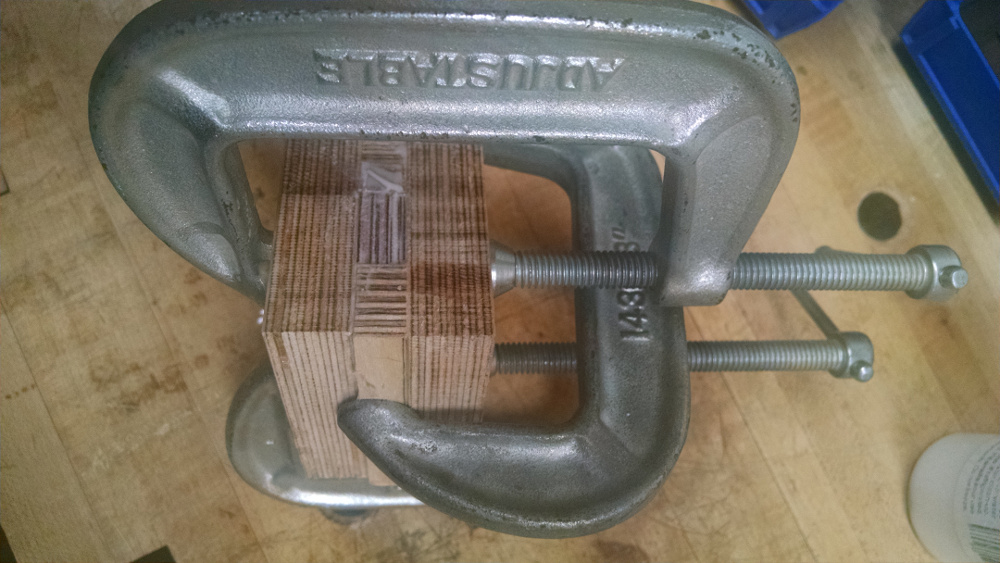
I put a layer of packing tape on all surfaces of the jig so that the glue would not stick to the jig. Then tried out the jig again before applying the glue. Good thing I did another dry run, as the entire wedge climbed up the sides now that there is slick tape covering them and no more friction. The wedge rose up far from the 2” diameter fence:
So I created a small wedge to fill the gap above the veneer log and lined it with sandpaper so that it will help stick to the jig and not climb up the jig walls.
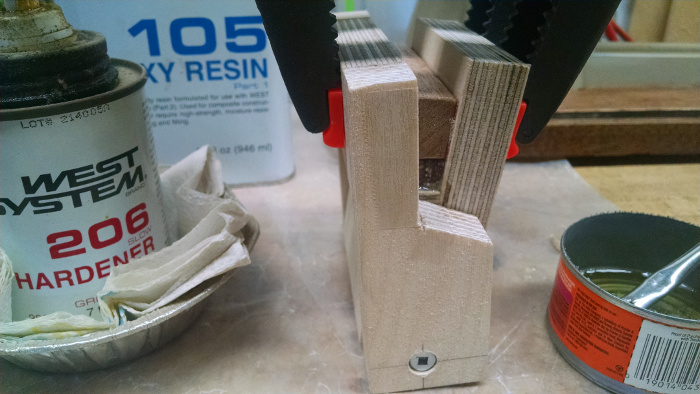
Time to glue this log up. I hesitated using more of the thinned white glue used to create the column slices because I didn’t want to add water to these thin columns of veneer. I didn’t want to reactivate the glue with water and then have the entire mess fall apart on me. So I used slow set epoxy to give me lots of time to get this glued up and clamped in place without adding any more water. Cat food tins are abundant in our household and make great epoxy mixing pots.
It turned out that this fear of the glue reactivation was misplaced. Please see part 3 to see the results of using epoxy vs thinned white glue. It turns out that I prefer the thinned white glue over the epoxy.
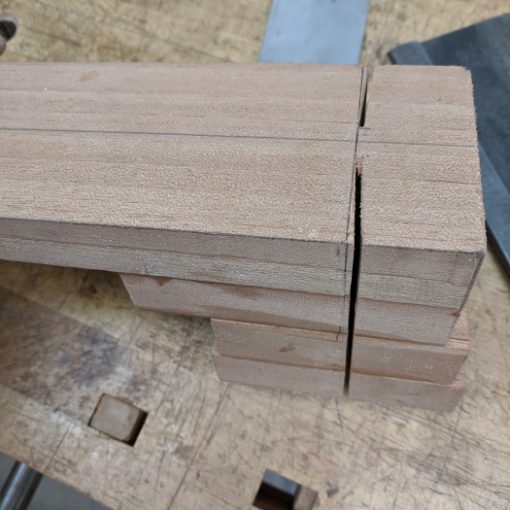
A day later, I took the log out of the jig and sawed off one end in my small cutoff jig. It looks great! When it gets some finish on it then all of the pixels should blend together a bit better.
Now I’ve got to prep the top and get it ready to start inlaying the many tiles cut from this log. That will be the subject of the next blog…
