I’m documenting my first attempts at making a classical guitar rosette using the traditional tile mosaic met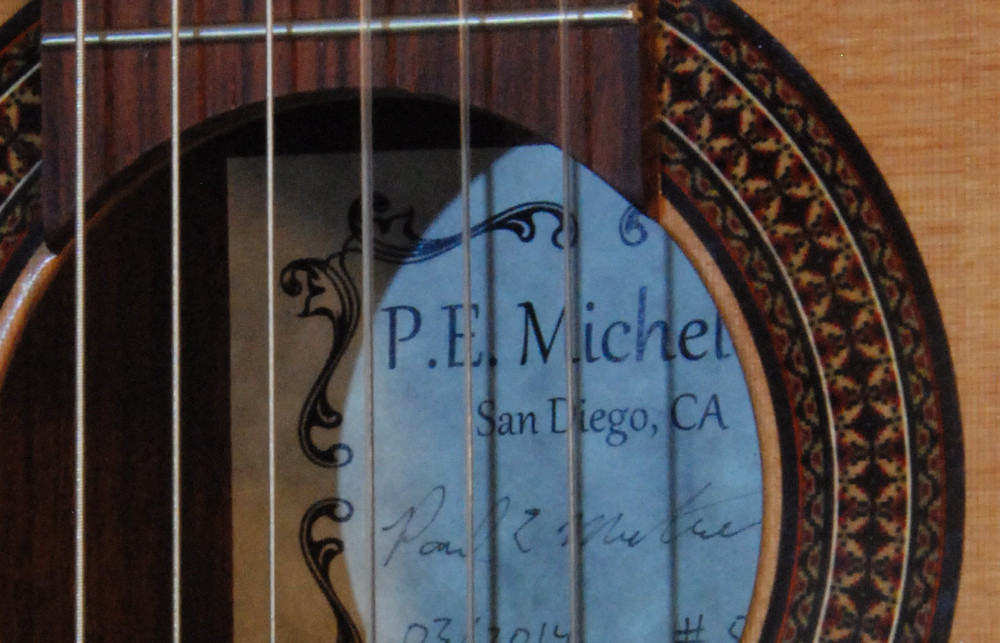 hod.
hod.
The classical guitar offers the maker very little leeway in customizing the look of the instrument. This is such a traditional instrument that most embellishments of inlay are generally frowned upon. The only visual identification available to a guitar maker is the rosette, the shape of the crown at the top of the headstock, and the label in the sound hole.
Once you see the number of detailed steps involved in making a rosette, you will understand the facial ticks on the luthier who created such a rosette when they recieve the comment: “nice sticker!”. 🙂
Here’s a picture of the rosette on my last guitar. I bought this rosette online and inlayed it into the top. But this amounts to essentially inlaying someone else’s signature into the face of my instrument. This is an exceptional quality rosette with three rings of mosaic tiles, but it’s just not of my own design and construction.
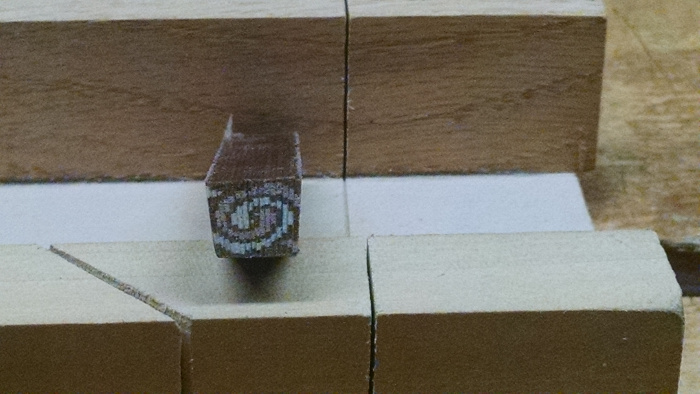
The mosaic design is made up from end grain view of very tiny square sticks of wood. Different colors of wood are glued together in a tile and that tile is replicated around the ring.
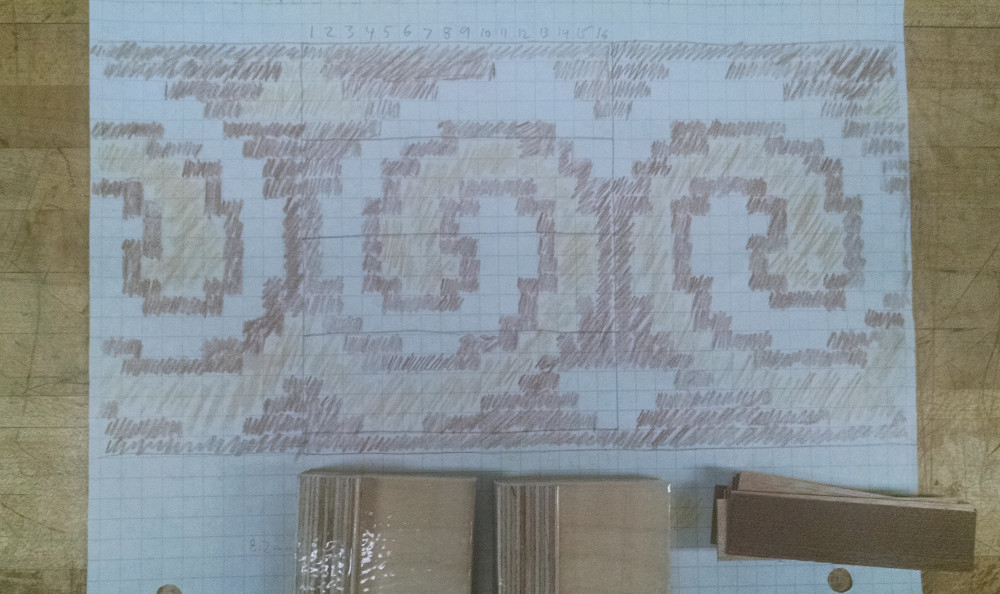
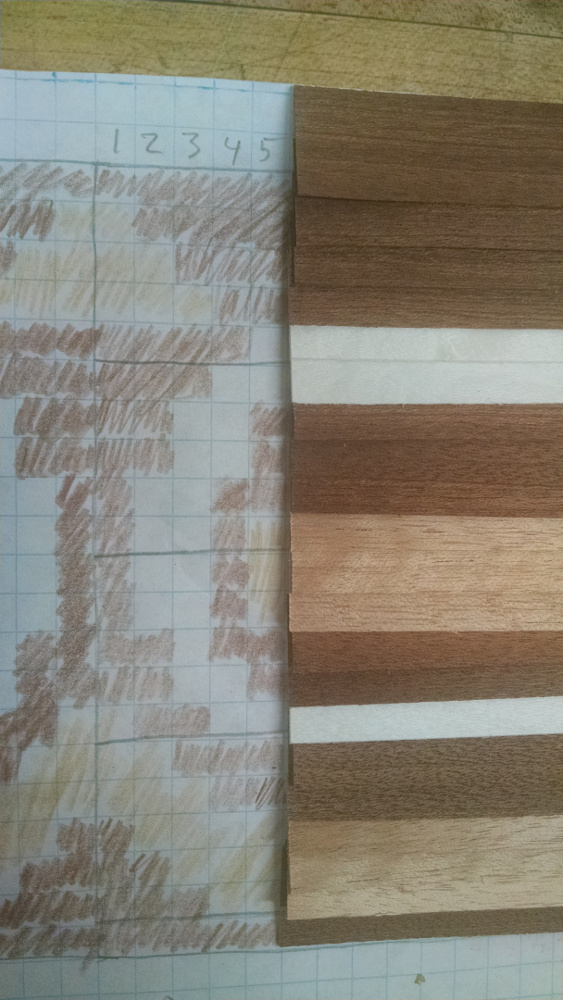
The first step in any process is to have a plan. I borrowed some of my wife’s cross-stitch design books as references since cross-stitch patterns translate very well to mosaic. I found a celtic band that I liked that reminded me of Ram’s horns. I modified the pattern so that it can be broken into tiles that reflect the same pattern on each edge of the tile so that any fitting errors that occur when making the tiles slightly wedge shaped to fit into a ring will not look odd. There are white Ram horns in one direction, and tan ones in the other, with triangles of opposing color that look vaguely like the creatures nose to fill in the gaps. I’m keeping this down to three natural wood colors for simplicity sake.
One single tile design can be used repeatedly to complete the full ring because you can turn the tiles upside down to get the reflected patterns. This design has 21 rows, and 16 columns for the main pattern tile. A stack of small veneer pieces is visible in this picture along with the jig I use to glue them up in a stack (more on this jig below). These veneers are ¾” wide by 3” long. I chose that size rather arbitrarily since I’m fumbling about here. I figure ¾” should be enough to get me 4 or 5 vertical slices from each “log” so that I can make multiple sets of the resulting “tiles”. And I have a heavy steel ¾” ruler that makes cutting these to width easy.
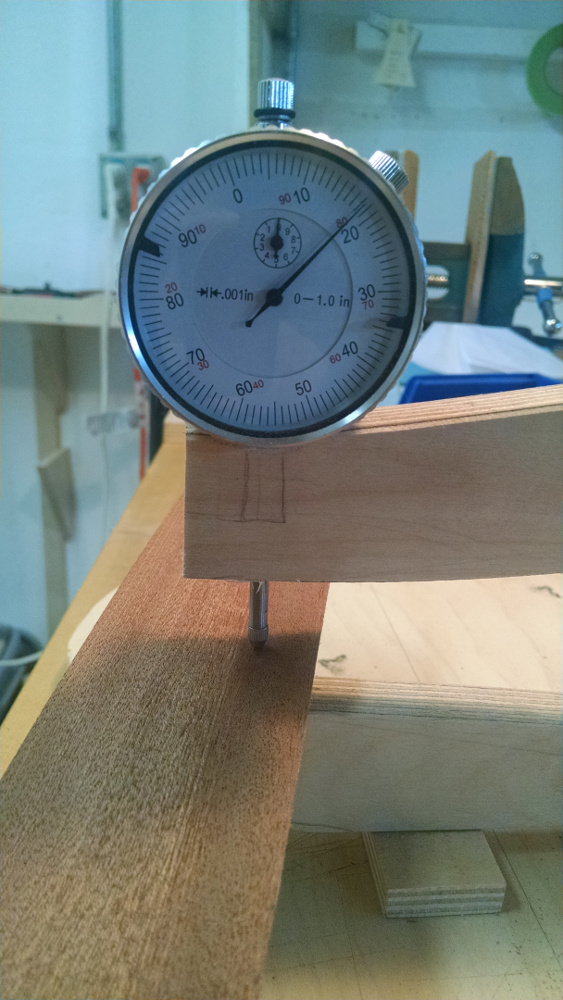
One problem with obtaining veneer is that they all come in different thicknesses. Some veneer you get at the local lumber yard doesn’t even tell you the thickness, as they don’t seem to be important to most marquetry designs. But to make a tile pattern, you want all of the woods to be the same thickness so that the grid pattern is maintained. I want the full mosaic ring to be about 0.400” wide, so these 21 leaves each have to be about 0.019” thick to make a stack up of leaves to be that desired height. All of the veneer I purchased were between 0.021″ and 0.025″ thick, so I have room to get these down to the desired thickness.
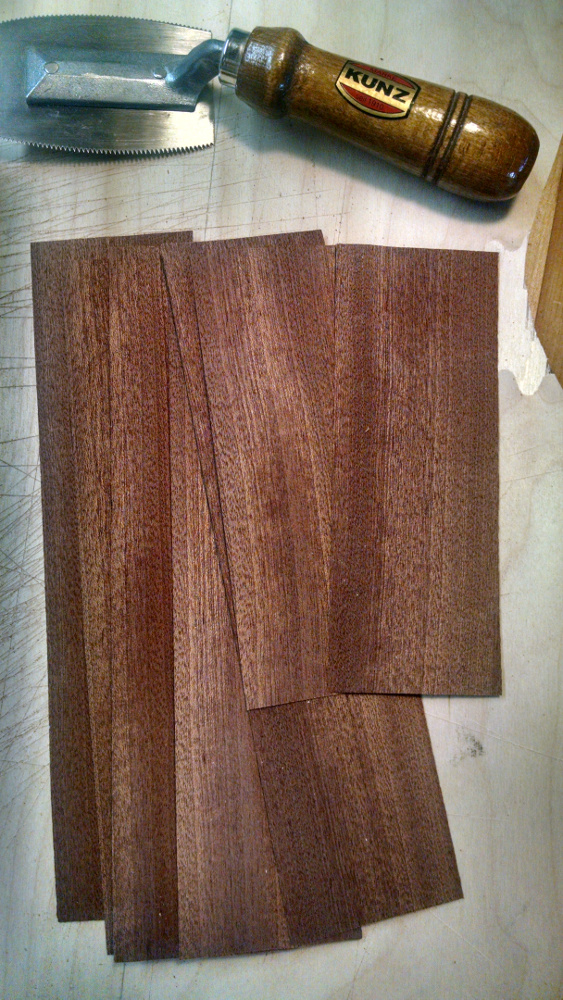
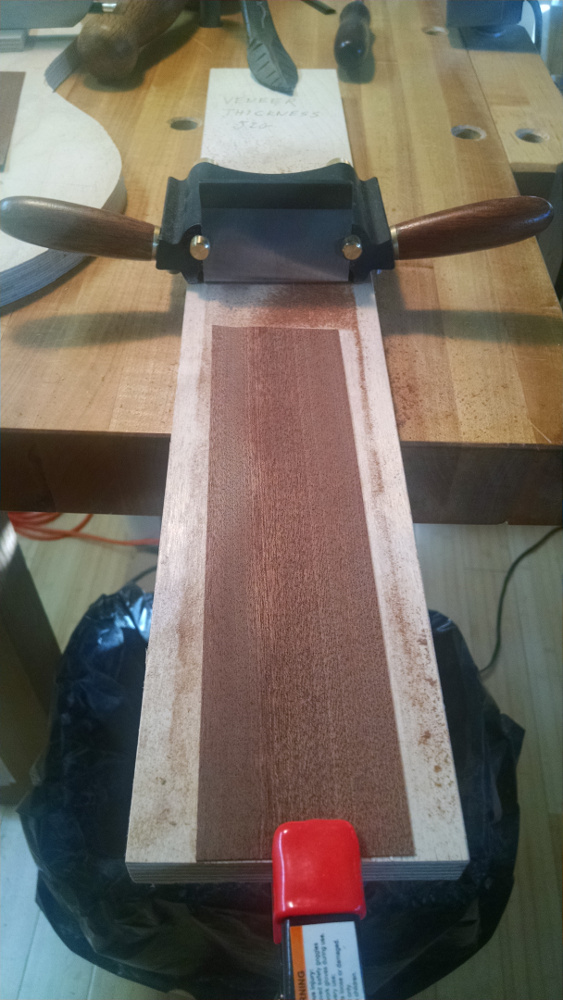
I have a nice veneer thicknesser that I got from Lee Valley Tools for this purpose (below right). This is a scraper with a shoe on each side so you can thickness down to desired values by scraping the veneer to be thinner. The clean stripes along the edge of the plywood base are where the thicknesser slides on the board to maintain the the blade at the desired thickness of the veneer above the plywood jig. The final pieces of veneer will be ¾” by 3”, and I need to work with multiples of this measurement for efficiency. This thicknesser can work with 2-1/4” wide pieces so I make the initial veneer 9″ long by 2-1/4″ wide before thicknessing.
The veneer saw shown on the left has been tuned to cut veneer cleanly. These veneer saws are horrible tools when purchased from the factory and need to be completely re-toothed before they are usable.
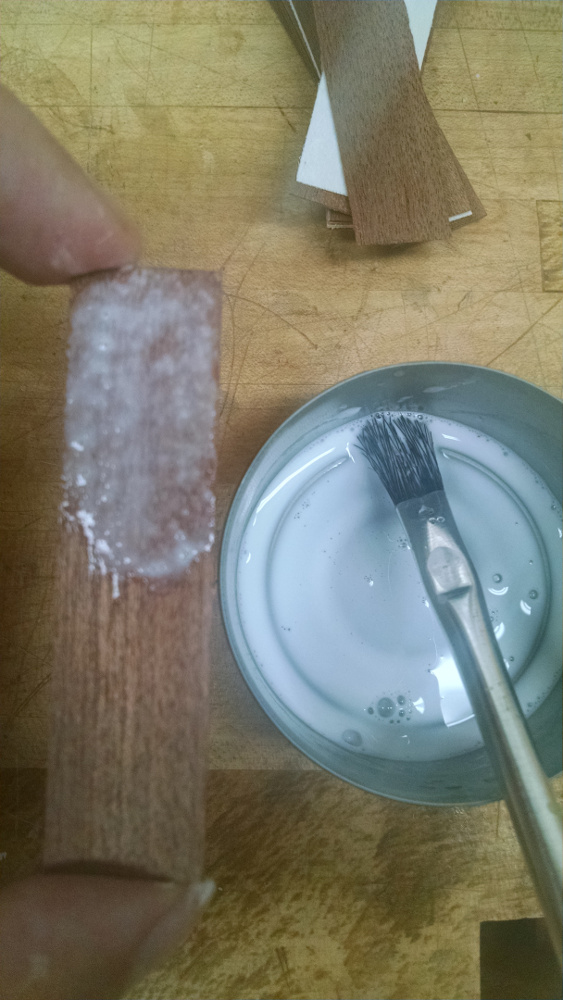
Below left shows my home made plywood thickness indicator showing the goal of 0.018” to 0.019” of thickness. Below right shows the stack of veneer that I’ll glue up for column number 5. I glue veneer leaves together in a stack for each column of this plan, and then later I’ll saw out small slices of these 16 different veneer stacks to assemble them as a log containing my tile design. Then small pieces of the resulting log are sawed off the end for the individual 2mm thick tiles.
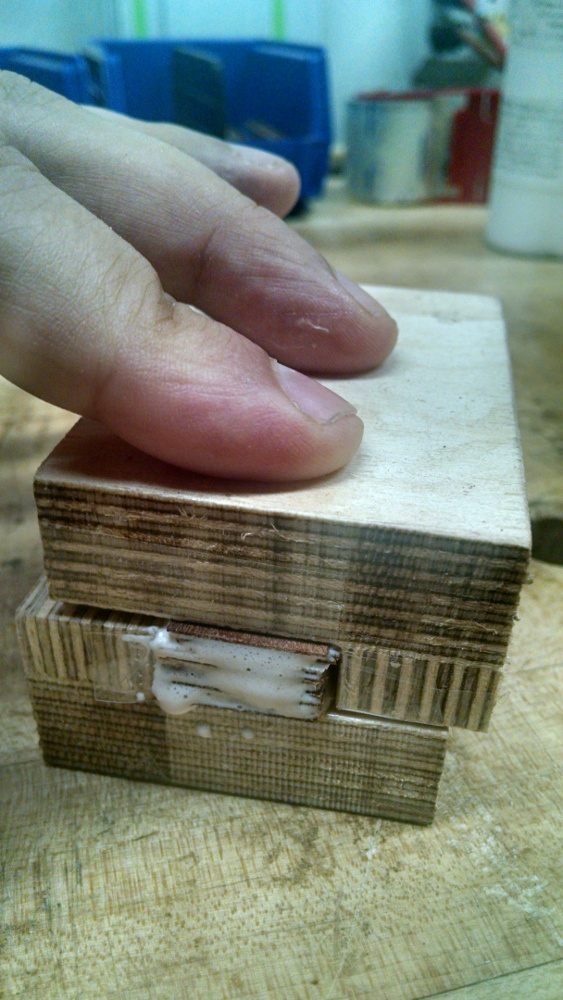
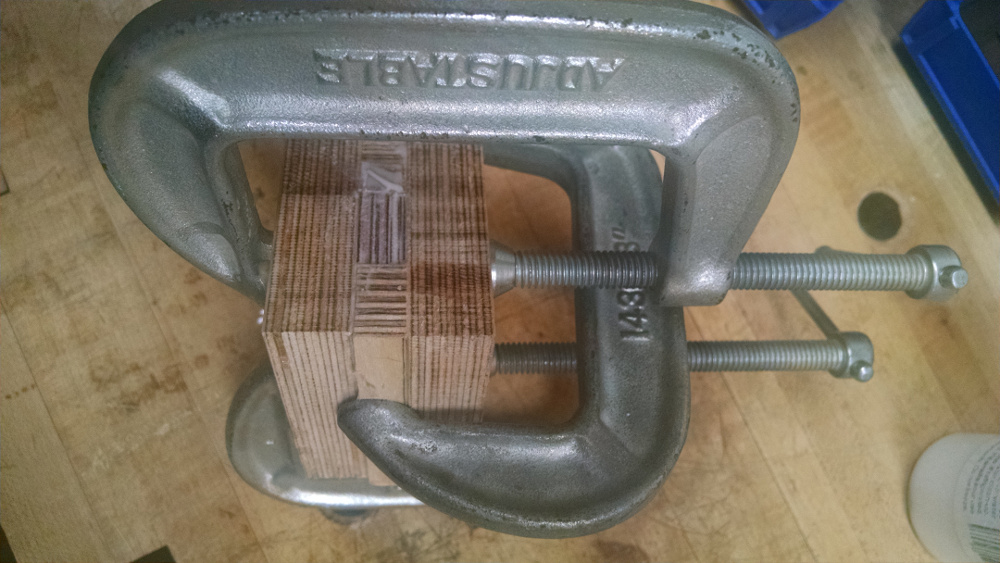
I created a jig that is just a couple of scraps of plywood with a short plywood “fence” that helps align and thickness each of these column assemblies. The fence has been carefully made to be 0.390” tall so that when the two identical pieces of jig are clamped together, the log is smashed vertically to that height. All surfaces of the jig are covered by clear packaging tape to prevent the glue from sticking to the jig. The end result is a piece that is right around 0.400” thick. I use white glue thinned with water by about 50% to glue together these leaves. Too much glue and they do not slide around in the jig and it’s too hard to compress the stack to the desired dimension.
An amazing amount of watery glue comes gushing out of the log when clamped up to control the thickness. You can see gaps along the edges of the veneer in the first picture below (with only 2 C-clamps for thickness clamping).
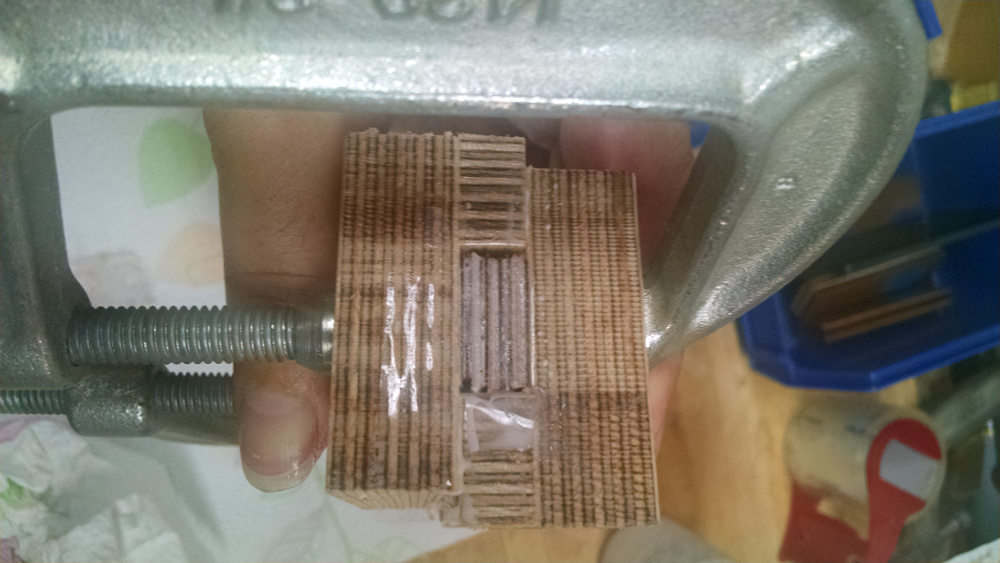
Then even more glue gushes out when the extra 3rd clamp is added in the picture below to clamp the fences against the sides of the stack which pushes the leaves more into alignment removing all of the gaps along the edges of the veneer. The glue needs to be rather watery for the veneers to slide against each other in this alignment step. You can see the gaps at the edge of the veneer are no longer present below.
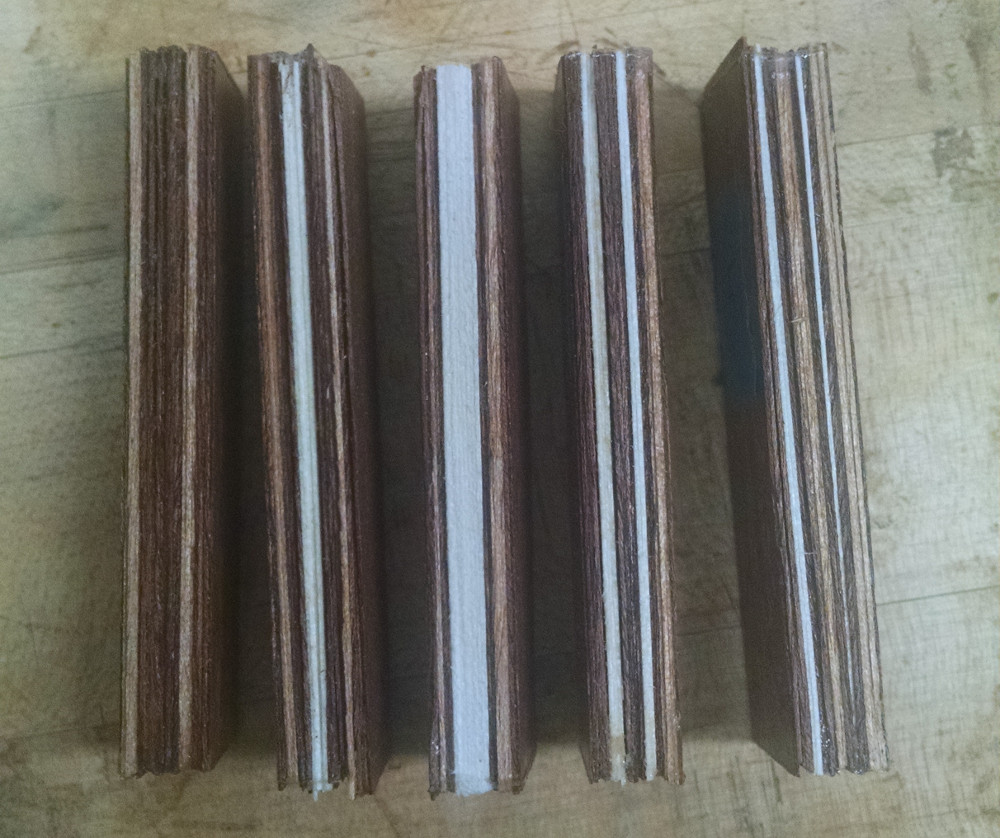
Five column stacks completed. The 5th column I glued up in the above process is on the right. 11 more to go… Stay tuned for the next steps in another week or two…
